
Fatal Claw Bosses — Roster, Mechanics & Rewards
Fatal Claw bosses explained for 1.0: the named fights by route stage, the tells that end runs, the rewards they unlock, and recovery after a loss.
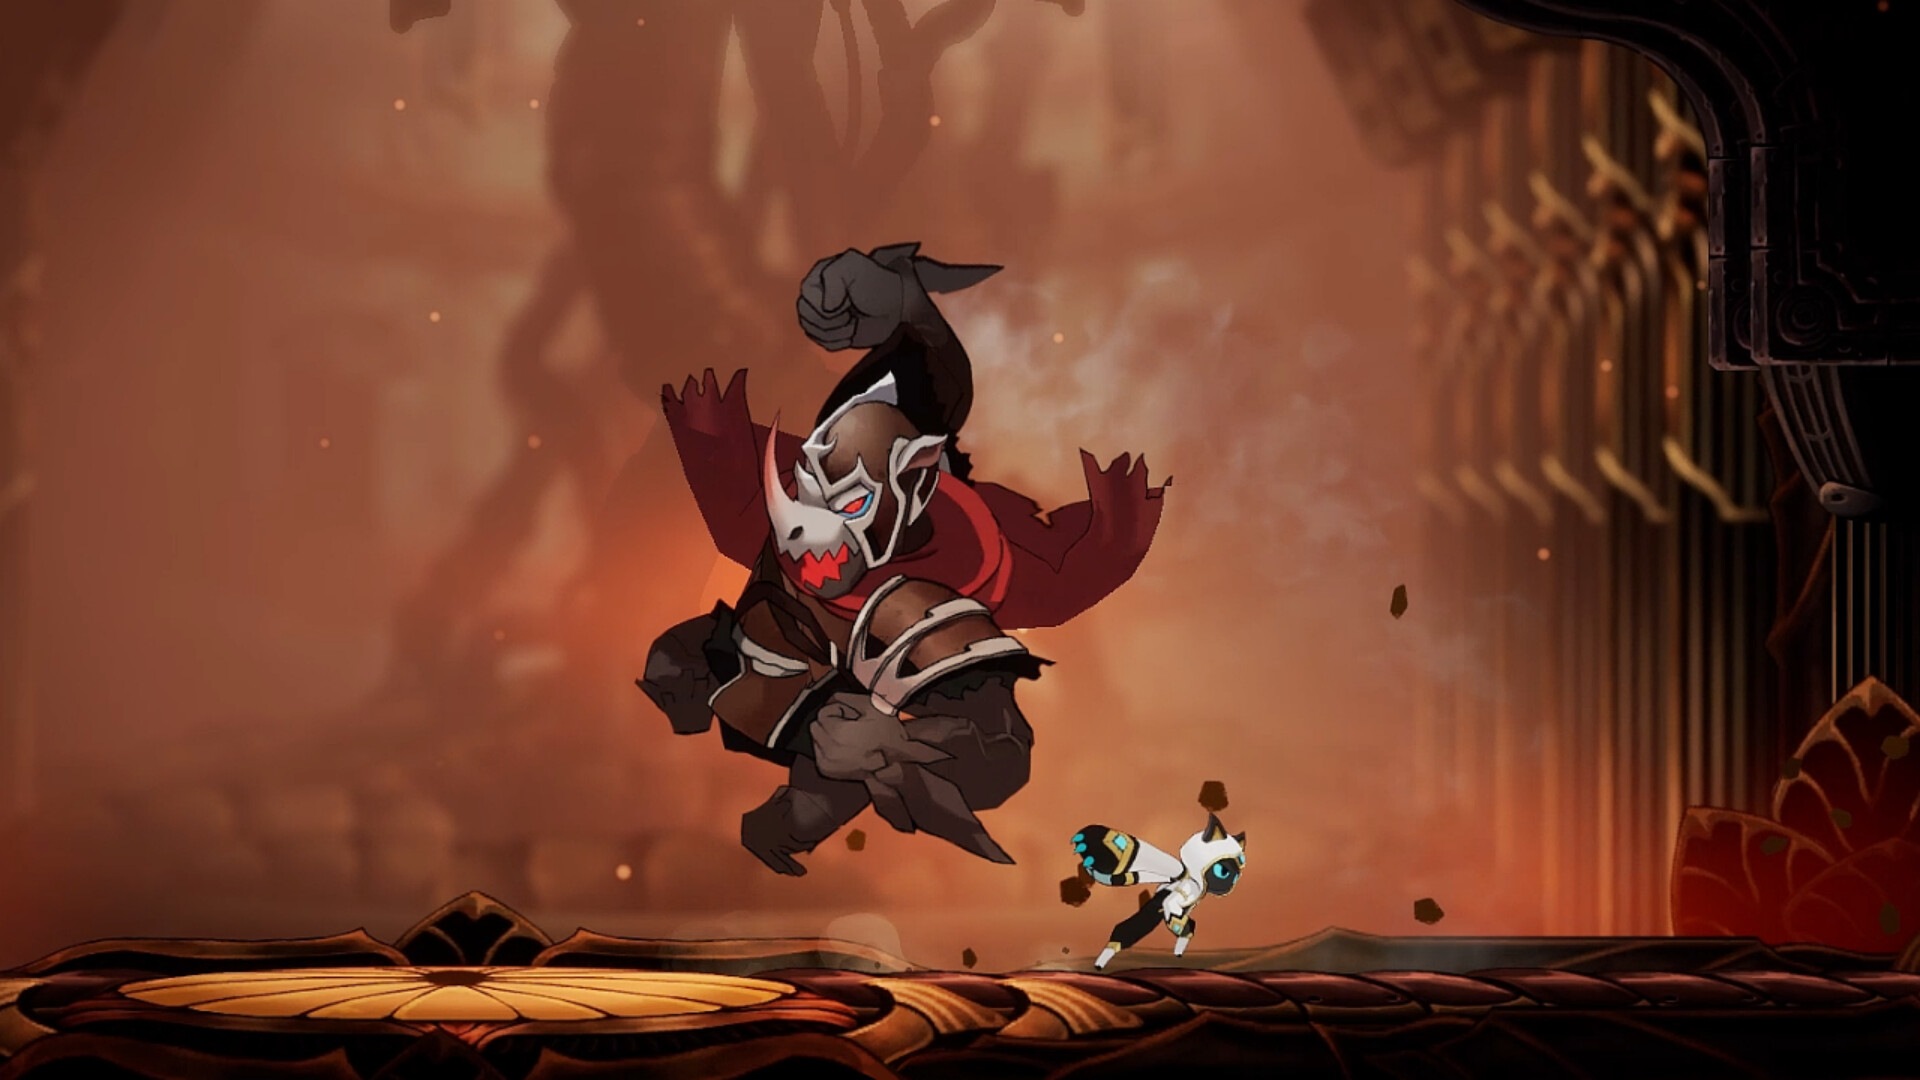
The Fatal Claw bosses are the game's real difficulty curve, and the community's most common compliment and complaint are the same sentence: the named fights are the moments the game is built around. This hub organizes the verified roster by route stage, breaks down the mechanics that actually end runs, and tracks the movement rewards each victory pays out. It is written against 1.0 and re-checked against patch notes, and where a detail rests on a single community report, the page says so instead of dressing it up as official.
Quick answer
You will fight a mix of progression bosses, machines, duels, and ending-sensitive opponents — community tallies put the roster around sixteen encounters with roughly seventeen named opponents, since one fight pairs two fighters. The earliest checks are Saitin and the Damaged Eradicator; the movement-defining wins are Mirkam (midair dash) and Irbes (wall claws); the midgame machines include the Eradicator and Giant Guardian; and the late game runs through Resio and Fatum, Sommar, the marsh, and the ending band around Sorron and Kurtz. Defeat almost every named boss and something permanent lands in Kisha's kit.
Early route: the exams that teach the loop
Saitin is the first named exam — a corrupted plant-thing encountered at the end of the Moss Cave stretch. It regenerates health and punishes long attack strings up close, so the winning pattern is short two-hit punishes and ranged mana attacks between its windows; a documented clear pays out an absorbable countermeasure and a milestone achievement. Treat it as the tutorial's final exam rather than a wall — nothing it does survives the short-string discipline.
The Damaged Eradicator introduces the machine family early in an impaired form. Its identity as a route boss is verified while its full move timings have never been published in detail, so the honest strategy is the universal one: bank mana with claw hits, spend Engraved Skills on telegraphs, and heal only when spending the charge is cheaper than the risk.
The movement bosses: Mirkam and Irbes
Two fights matter more than the rest for route progress. Mirkam, at the end of the Kannir Drilling Site after the Albus conversation, is a three-phase brawler with readable tells — jump in place during its charge, step back when its eyes redden for the horn swing, stay grounded when it tears up the floor, and punish the recovery after it crashes into a wall. The reward is Mirkam's Sinew, the forward midair dash that reopens the map's horizontal gaps.
Irbes, the main boss of Ashen Valley, teaches the opposite lesson. Its second phase adds two invulnerable copies that clump together — only hits on the real Irbes move its health bar — which makes the clump a mana piñata for area Engraved Skills rather than a reason to chase strays. The payout is Irbes' Claws, the wall-cling, slide, and wall-jump set that converts every vertical shaft in the game into a two-way road. A sword-and-flag prop on the arena's right side makes a reliable landmark for keeping your bearings mid-fight.
Midgame machines and duels
The castle stretch activates the Eradicator proper — summon it by operating the large elevator with the green ID card found in a breakable wall crate — and it gates the road to the drilling site rather than optional content. The Giant Guardian pairs with the wave discharger: the fight is not about surviving it but about disabling it with the device, which a related achievement rewards. Ortrinde, the floating-blades duel, punishes greedy air time — official patch notes even addressed a camera issue for players who hung airborne during the fight — and ground-level discipline beats flashy Blink stunts here.
In Black Canyon, Resio and Fatum count as a single paired encounter in a dark arena where the center heart briefly restores light. Resio teleports three times before each attack — counting the teleports is the whole defense — and the second phase adds bouncing projectiles answered by a wall jump into a dash toward the center. Sommar waits in the Higasha approaches with no public pattern card; by that point the toolkit carries you.
The late game: Kurtz, the marsh, and the endings
Kurtz, encountered around the Black Mire, is the game's famous hard-gimmick fight, and the best mechanical breakdown comes from a single detailed community thread rather than official channels: purple pouches on the approach refill Blink charges, the first phase asks you to pop two purple knots and then break three shield points in one pass across both arms, and the second phase gives Kurtz a visible health bar you damage while airborne around his head. Treat the specifics as one strong player report, not scripture.
The Aphotic Marsh and its surroundings host the ending band — the fights community guides group around Sorron, the marsh's faction leader, and outcome-sensitive opponents whose results can differ by the choices you banked. The safe advice: settle survivor quests before the finale, and check an ending guide before re-running a finale, because repeating it blind can lock in an outcome you did not want.
Fights by route stage
Scanning the roster at a glance helps you plan attempts and Cabitz loadouts. The table below groups the documented fights by where they sit on the route and what each stage is actually testing.
| Route stage | Named fights | What the stage tests |
|---|---|---|
| Opening route | Saitin, Damaged Eradicator | Short-punish discipline, mana banking, first absorbs |
| Movement progression | Mirkam, Irbes | Reading telegraphs; pays the midair dash and wall claws |
| Machines & guardians | Eradicator, Giant Guardian, Ortrinde | Route keys, disable objectives, ground-level patience |
| Black Canyon and beyond | Resio and Fatum, Sommar, Cain, Infected Carbo | Gimmick-arena positioning, resource management |
| Ending & epilogue | Sorron, Kurtz, Odz, Murant, Saemo | Full-kit mastery; outcomes can depend on your choices |
Two honest caveats belong next to that table. Community tallies count around sixteen encounters covering seventeen named opponents, but no official roster has been published — treat missing names as gaps in the documentation rather than hidden bosses. And the ending-band fights are the least documented of all, because every run reaches them through different choices.
Recovery, difficulty, and the honest curve
Owl statues appear after named bosses and restore health — the game's standard mercy — and free save points outside most boss rooms keep runbacks short by genre standards, though a few players report exceptions. Difficulty experiences genuinely diverge: one prominent reviewer called the bosses exceptional roadblocks on a three-and-a-half-out-of-five personal scale, while Steam reviews describe a flat early game with a late spike. Both describe the same game; the adjustable difficulty sliders exist for exactly this, and using them carries no penalty.
If a specific wall is movement-shaped rather than skill-shaped, the double jump guide maps every stuck spot to the ability that solves it, and the walkthrough hub places each fight in the route. Version context matters too — launch hotfixes tuned the pogo and several arenas — so the release date timeline tells you what changed since you last played.
Rewards: what victories pay out
Every named fight on the route pays a concrete reward, and knowing the payout table is how you decide a fight is mandatory. The movement rewards are the headline: Mirkam's Sinew opens horizontal gaps, Irbes' Claws open vertical ones, the elevator's Eradicator opens the drilling site road, and the marsh's challenges end with the Silver Chain for backtracking. Machine encounters tend to pay route progress instead — the Giant Guardian dies to its disabling device, and the achievement for it asks "Did It Work?" rather than celebrating your dodge skills.
Achievements stack on top: Saitin's clear tracks as a named milestone, Ortrinde's as a dedicated entry, and store achievement art names like Claw Sharpening and Faster Than Lightning hint at the combat and speed milestones waiting deeper in the 51-achievement list. Post-fight owl statues restore health for whatever comes next. One caution repeated across sources: a couple of the late fights — Kurtz's exact shield phases most prominently — are documented by single community threads, so expect community breakdowns to be strong but not official.
What this hub will add next
Per-boss deep dives are added once a fight's mechanics are verified against the current patch, and the roster here grows deliberately rather than ahead of what the game shows. Meanwhile, the systems behind every fight — mana banking, Engraved Skills, Cabitz loadouts, healing — live in the Fatal Claw guide hub, arena locations sit on the map hub, and the cast behind the masks is on the characters page. If you are budgeting attempts, how long Fatal Claw takes to beat sets expectations for the whole run.