
Fatal Claw Walkthrough — 1.0 Region Route & Order
A Fatal Claw walkthrough for 1.0: the region route from Origin Laboratory to Aphotic Marsh, the ability gates that lock it, and what to do before credits.
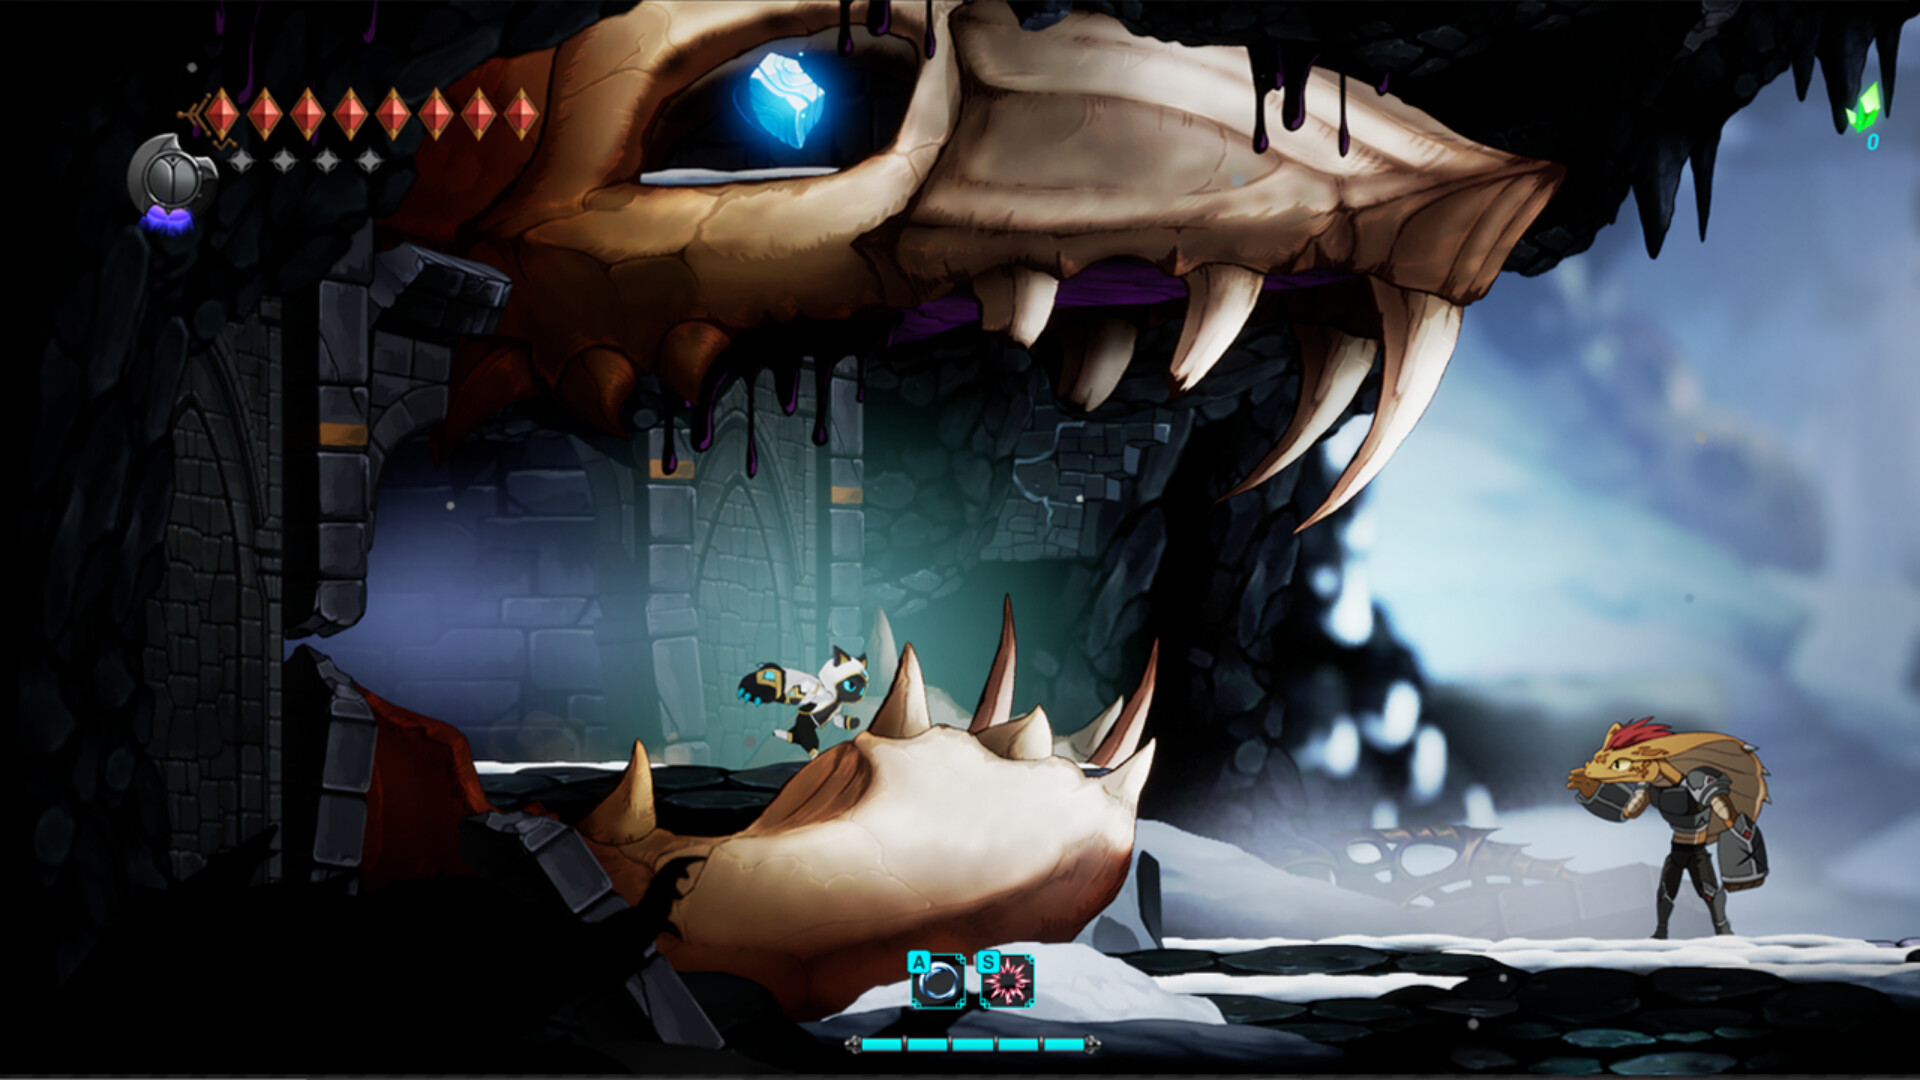
This Fatal Claw walkthrough sequences the 1.0 build's regions the way the route actually unfolds, using the official region names from teasers and patch notes. One caveat before the list: Fatal Claw is a Metroidvania, and this is a route, not a law. You will bounce off doors, miss a passage, and return later with Blink, glide, wall claws, or the 1.0 Silver Chain; the order below is the shape of a clean first run, not a requirement.
Quick answer
The route runs: Origin Laboratory (and its vertical Upper continuation) → Lower Moss Cave → Strigine Quarry and Black Canyon → Higasha Tundra, Tenshukaku Interior, and the Wolf Gate → Lower and Upper Elord Castle → Jayma's Dungeon and the Kannir Belt with its drilling site → the royal satellites (Isaac Manor, Mirror Chamber, Grand Square) → the 1.0-only Aphotic Marsh → the Shrine of the Ancestors for the ending layer. Clear survivor requests before the first credits; the route does not close there, but choices do.
Origin Laboratory and the Upper Laboratory
Kisha awakens here, and the stained-glass introductions frame the world: Commoners, Ancients, the Kannir, and a king who sealed the surface. The lab teaches movement, healing, Cabitz pickup, and the Engraved Skills system whose mana charges by attacking — master the attack-to-mana loop here and every later region plays smoother. Leave when you can read the Carox comfortably and you have marked every locked climb you could not solve.
The Upper Origin Laboratory is the vertical continuation of the same complex, and the 1.0 release added new rooms to the lab stack even for players who knew the Early Access map by heart. Expect unfamiliar pockets, rescan them, and treat the lab's exits as the template for how this game gates progress: ability first, route second.
Moss Cave, the Quarry, and Black Canyon
Lower Moss Cave is the first dive into a living region — Jibanam trees, a tribe that tends them, and sap that matters later in the ending objectives, so pocket it rather than selling it. The terrain is poison-adjacent, movement is about patience, and tree-gated climbs should be marked for a later return rather than forced.
The Strigine Quarry and Black Canyon block arrived together in the first Early Access expansion, alongside Higasha Tundra and the claw-based movement pickup of that era. The quarry is industrial and vertical, with wind and updrafts that bend jump arcs; the canyon punishes sloppy jumps and rewards the dash. Both regions are where the game starts asking you to combine movement tools instead of using one at a time.
Higasha Tundra, Tenshukaku Interior, and the Wolf Gate
Higasha Tundra is cold, wide, and easy to under-explore if you hug the main road — sweep its edges before pushing inward. The Wolf Gate is a named story threshold, not a fan nickname, and if it will not open for you, the answer is a story object rather than a movement ability. The Tenshukaku Interior layers 1.0's castle-in-the-cold content on top of the expansion tundra, trading outdoor sightlines for indoor verticality. This is also the neighborhood of Enma, the Golden Spirit Wolf, the named character-boss of the stretch.
Elord Castle and the royal stack
The castle is the route's midsection and its memory test. The large elevator gates the road to the Kannir Drilling Site: locate the green ID card in a breakable wall crate, operate the elevator, and survive the Eradicator ambush that greets you inside. The castle's satellites — Isaac Manor, the Mirror Chamber, and the Grand Square — hold collectibles and story furniture, and the castle hides the King's Authority, the story object several sealed doors are waiting for.
One walk-through-critical habit lives here: activate the Stone Warp lever in the upper castle before you fast-travel away. An older patch fixed the progression block caused by skipping it, but the habit is cheaper than the fix. The castle also holds the game's most famous curiosity — the Mirror Chamber puzzle — which is an achievement gag rather than a route gate.
Jayma's Dungeon, the Kannir Belt, and the marsh
Jayma's Dungeon carries the royal-plot seals, and the Kannir Belt with its Drilling Site teaches the economy: Kannir liquid is toxic, Kannic is the solid currency, and the drilling site's boss — Mirkam — hands over the forward midair dash that reopens half the map's horizontal gaps. In Ashen Valley, Irbes pays out the wall-cling set. These two fights are the movement milestones of the late middle game.
The Aphotic Marsh is 1.0's black-sludge region and the deepest corruption in the underworld, and its Silver Chain pickup is the route's last great backtracking key — once you have it, sweep the laboratory, the quarry, and the marsh-adjacent markers you pinned hours ago. The Shrine of the Ancestors closes the loop on Kisha's resurrection theme and hosts the ending layer, where the choices you banked through the run decide what the surface world gets.
What each Early Access expansion added
Because the route grew in layers, knowing which block added what tells you which guides are stale. The first expansion (tracked by the community as version 0.9.228) delivered the Strigine Quarry, Black Canyon, and Higasha Tundra together with the claw-based movement pickup of that era, plus the first costumes — a blue-scaled robe and a crimson dance dress — and owl statues as post-boss recovery. The second expansion (community-tracked as 0.9.265) added Lower Elord Castle with the Stone of Immortality Chamber and the King's Authority, Jayma's Dungeon, and the Kannir Belt with its drilling site.
Version 1.0 then layered the ending-grade content on top: expanded laboratory rooms, the castle-in-the-cold interior, the Aphotic Marsh with its Silver Chain, and the shrine sequence. If you played only the launch-month Early Access build, expect roughly five times the game — and treat any map or video without a version label as pre-expansion material. The release date timeline carries the exact windows.
What to finish before the credits
Three things belong on the pre-credits checklist. First, settle survivor requests and any choice-sensitive tasks — the ending layer reads them, and several pay off only before the credits roll. Second, spend time on Cabitz and skill fusion rather than hoarding: post-game resets have been reported to reshuffle some world state, and a strong build makes the epilogue faster. Third, do not burn first-cycle consumables assuming they persist across cycles.
The first credits do not close the route. Post-game exploration keeps Kisha's abilities, the world reflects your ending, and community reports describe timeline-rewind mechanics that gate the truest completions behind at least one more cycle. Treat the credits as a checkpoint, not a door.
Common walls and what they mean
The community's stuck reports cluster into patterns, and each has a known answer. The Origin Laboratory's password door generates a steady stream of searches — the answer there is exploration and story progress rather than a code someone forgot to give you. A chase sequence preceding the Ortrinde fight spawns its own confusion; surviving it is the checkpoint, and the boss fight that follows is a discipline check, not a gear check. Reports of a partner character failing to traverse the Grand Square are what they look like — a companion-pathing annoyance — while the Square's own knockbacks are answered by wall climb.
Then there are walls that mean "wrong build." Sommar, in the Higasha approaches, has no public pattern card and humbles players who arrived without a plan for Engraved Skills; the community's advice is to bank mana with claw hits before spending, and to treat the fight as a read check. And the Wolf Gate keeps its own rule: story objects open story doors. When a barrier matches none of these patterns, check your version against the release date timeline — early hotfixes freed players stuck in tundra geometry, and being stuck inside a wall is a bug report, not a route problem.
Pair this route with the rest of the wiki
Region geography, markers, and fast travel live in the Fatal Claw map hub; named fights and their rewards live in the bosses hub; and the systems that make every gate soluble are in the guide hub. For planning time against this route, see how long Fatal Claw takes to beat, and for the version you are playing, the release date timeline lists every window from Early Access to 1.0.8.